One thing I have always loved is vintage/thrift shopping. There is NOTHING better than the thrill of a great find. Vintage items make a space unique, interesting and most importantly, gives a home something not everyone else has.
Which is why I really don't understand when people don't 'get' having vintage or thrifted items in their homes. I have heard clients say that they just 'aren't into' older things. So I am here to make a case for vintage pieces. Often, people just can't take an item they see in a vintage store or on a CraigsList posting and see the bigger picture of just how CHIC it could look in a space.
Here are two examples, pulled from current St. Louis CraigsList postings.
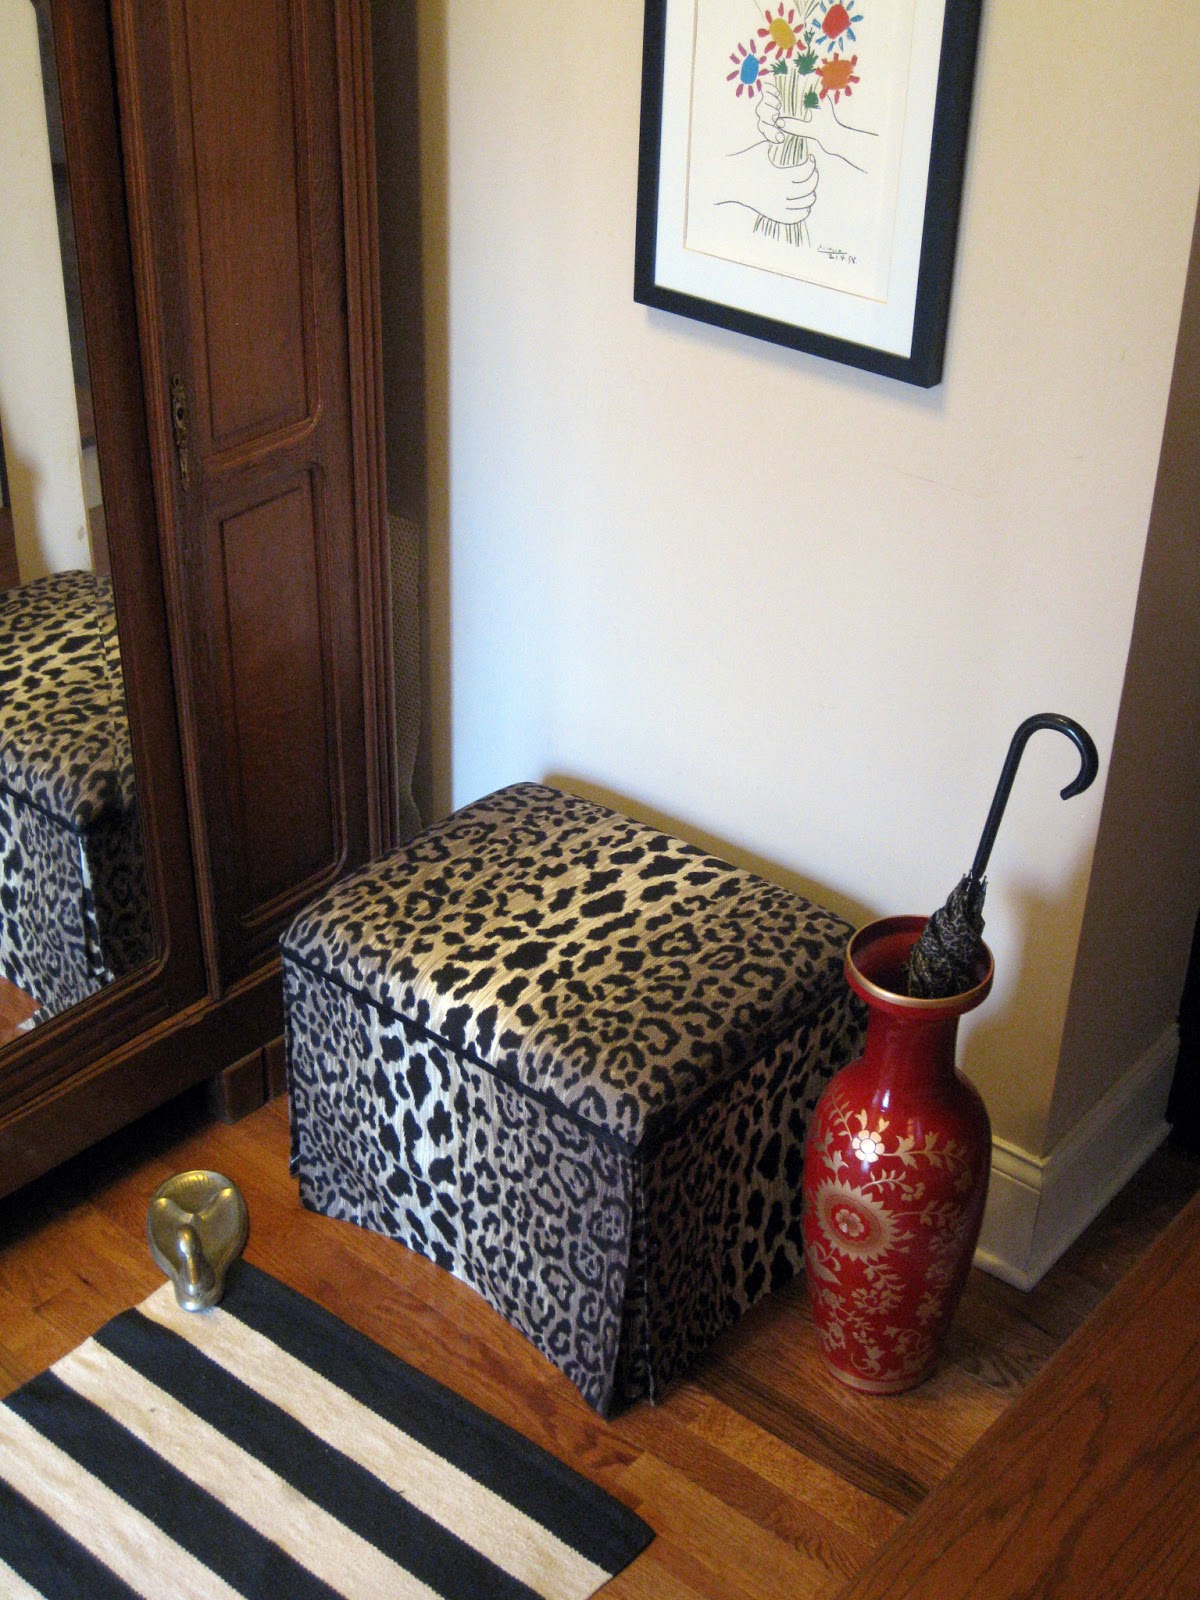
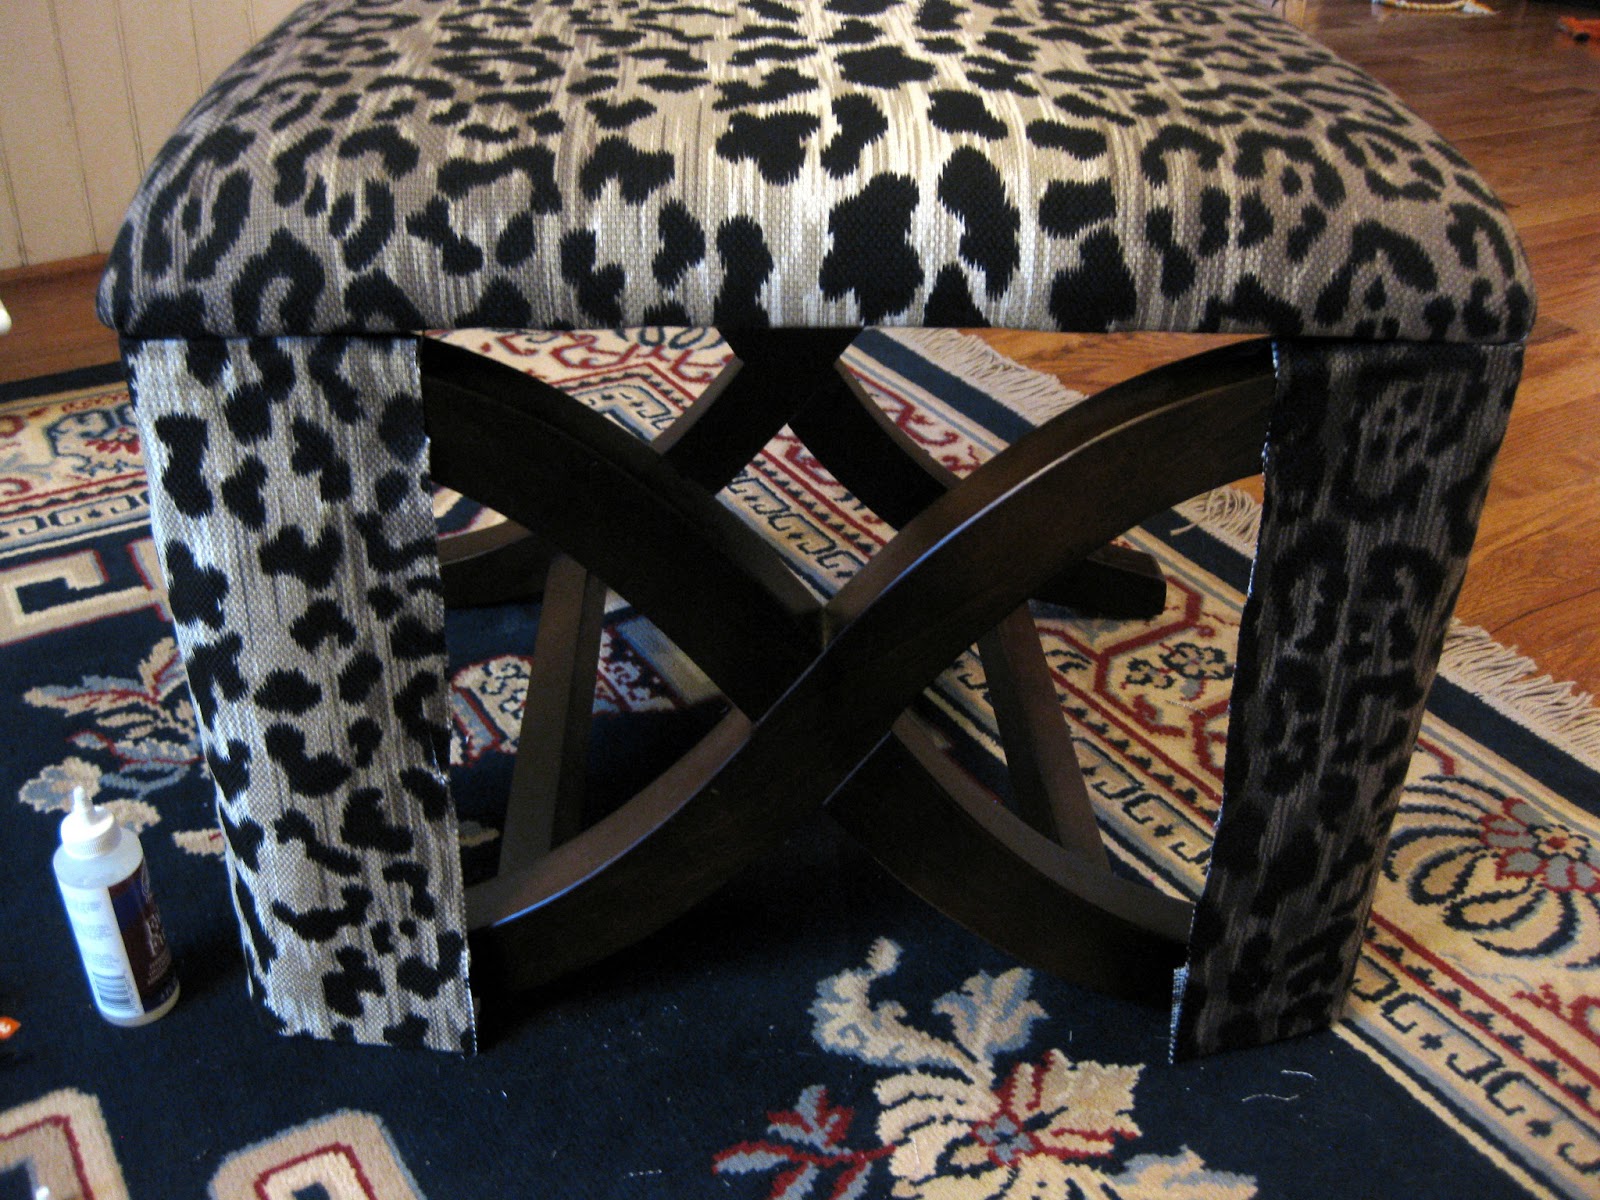
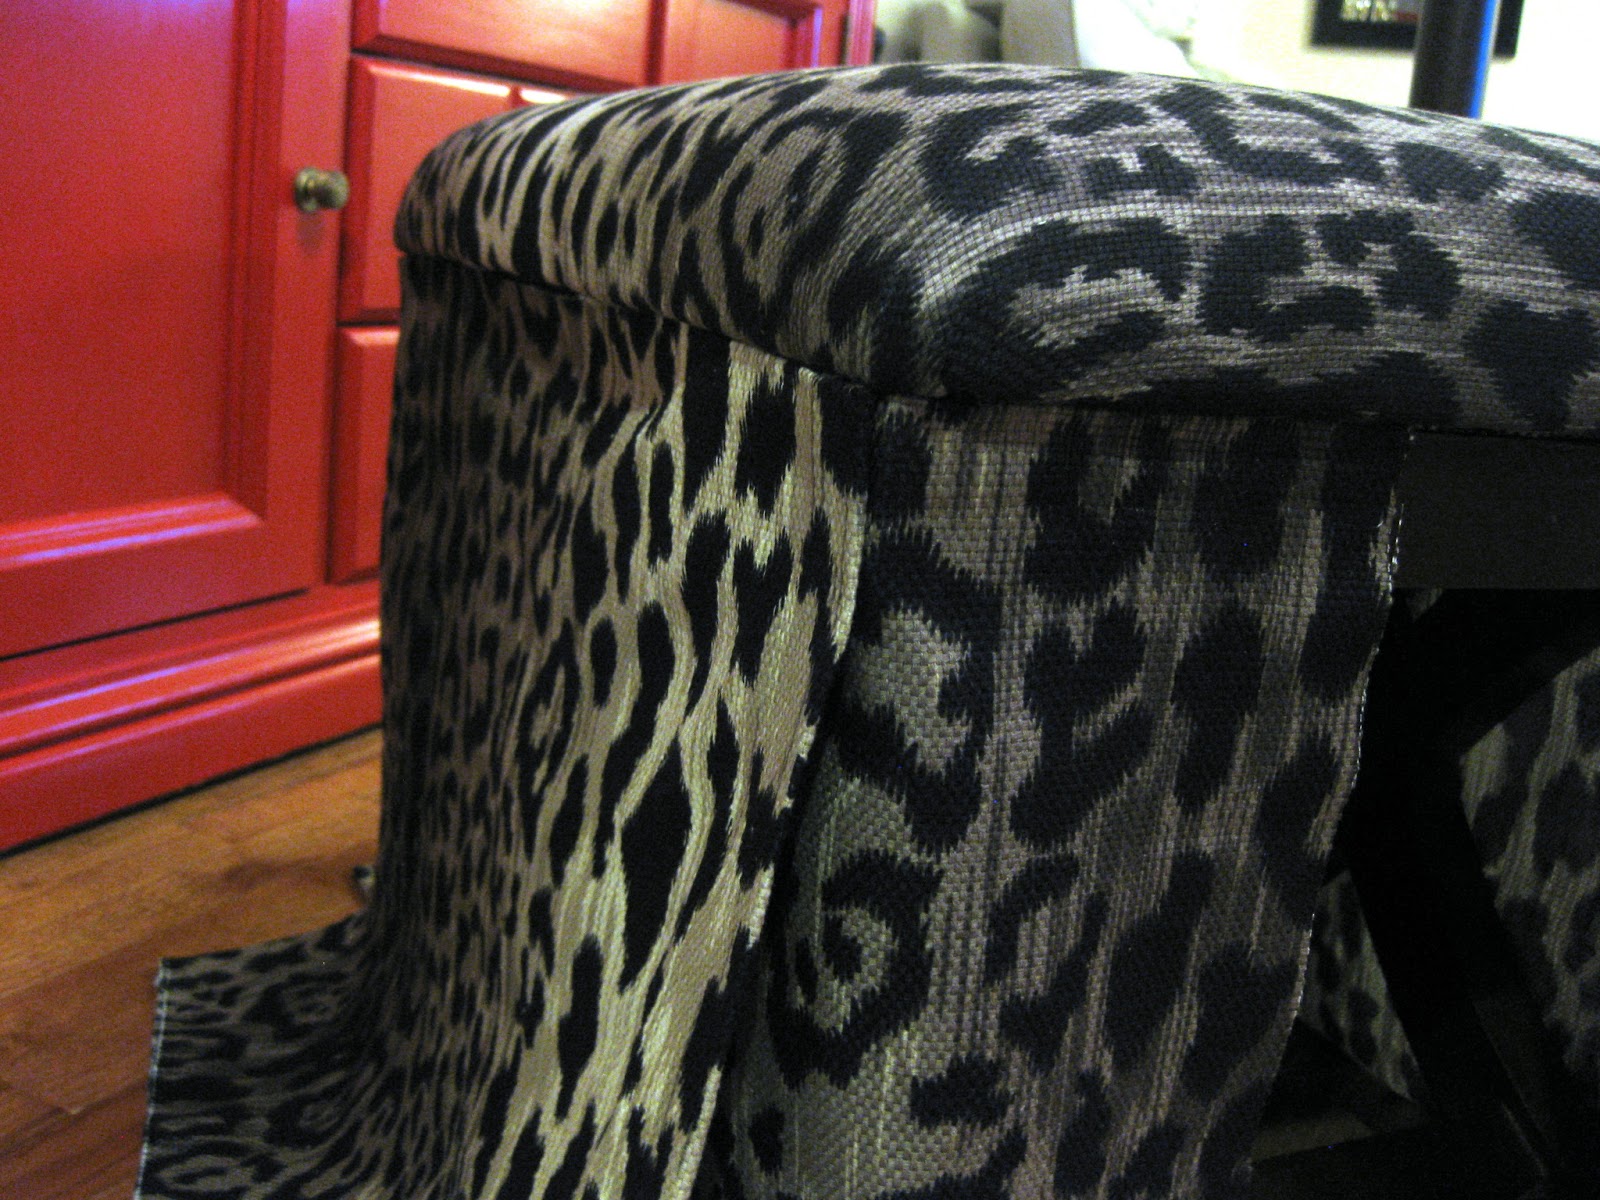
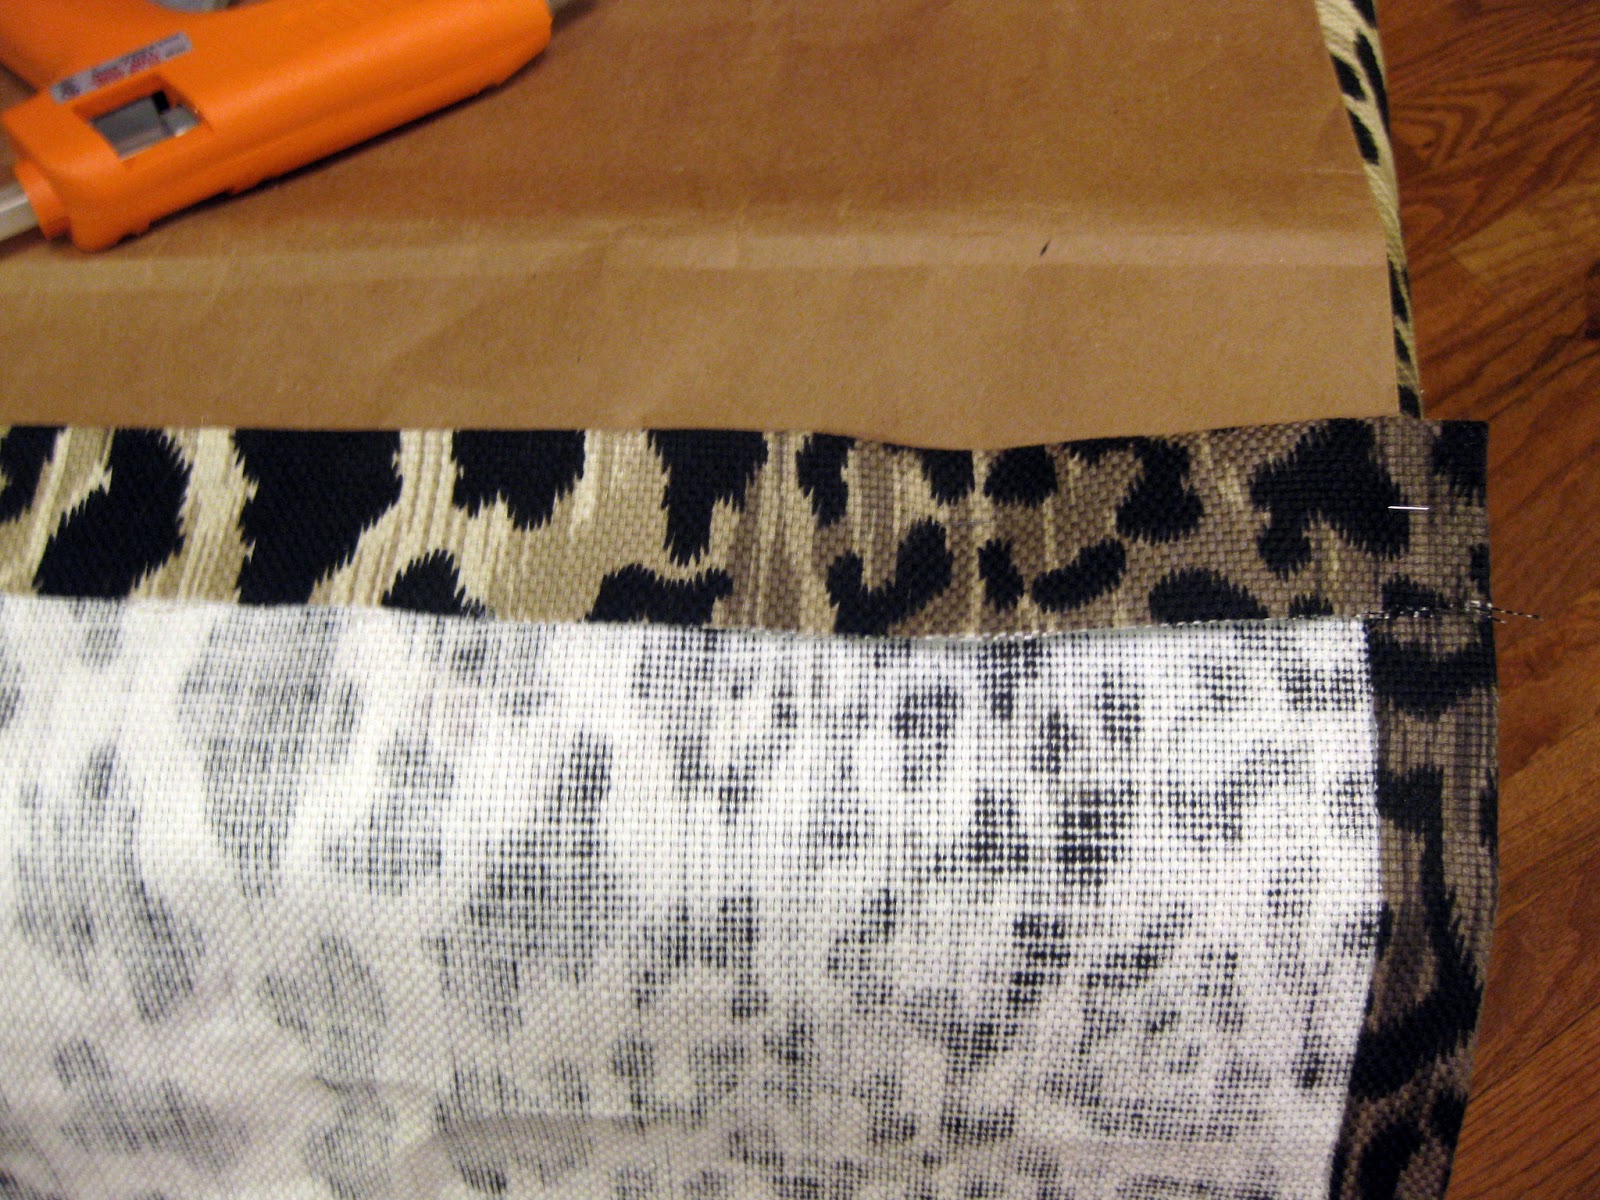
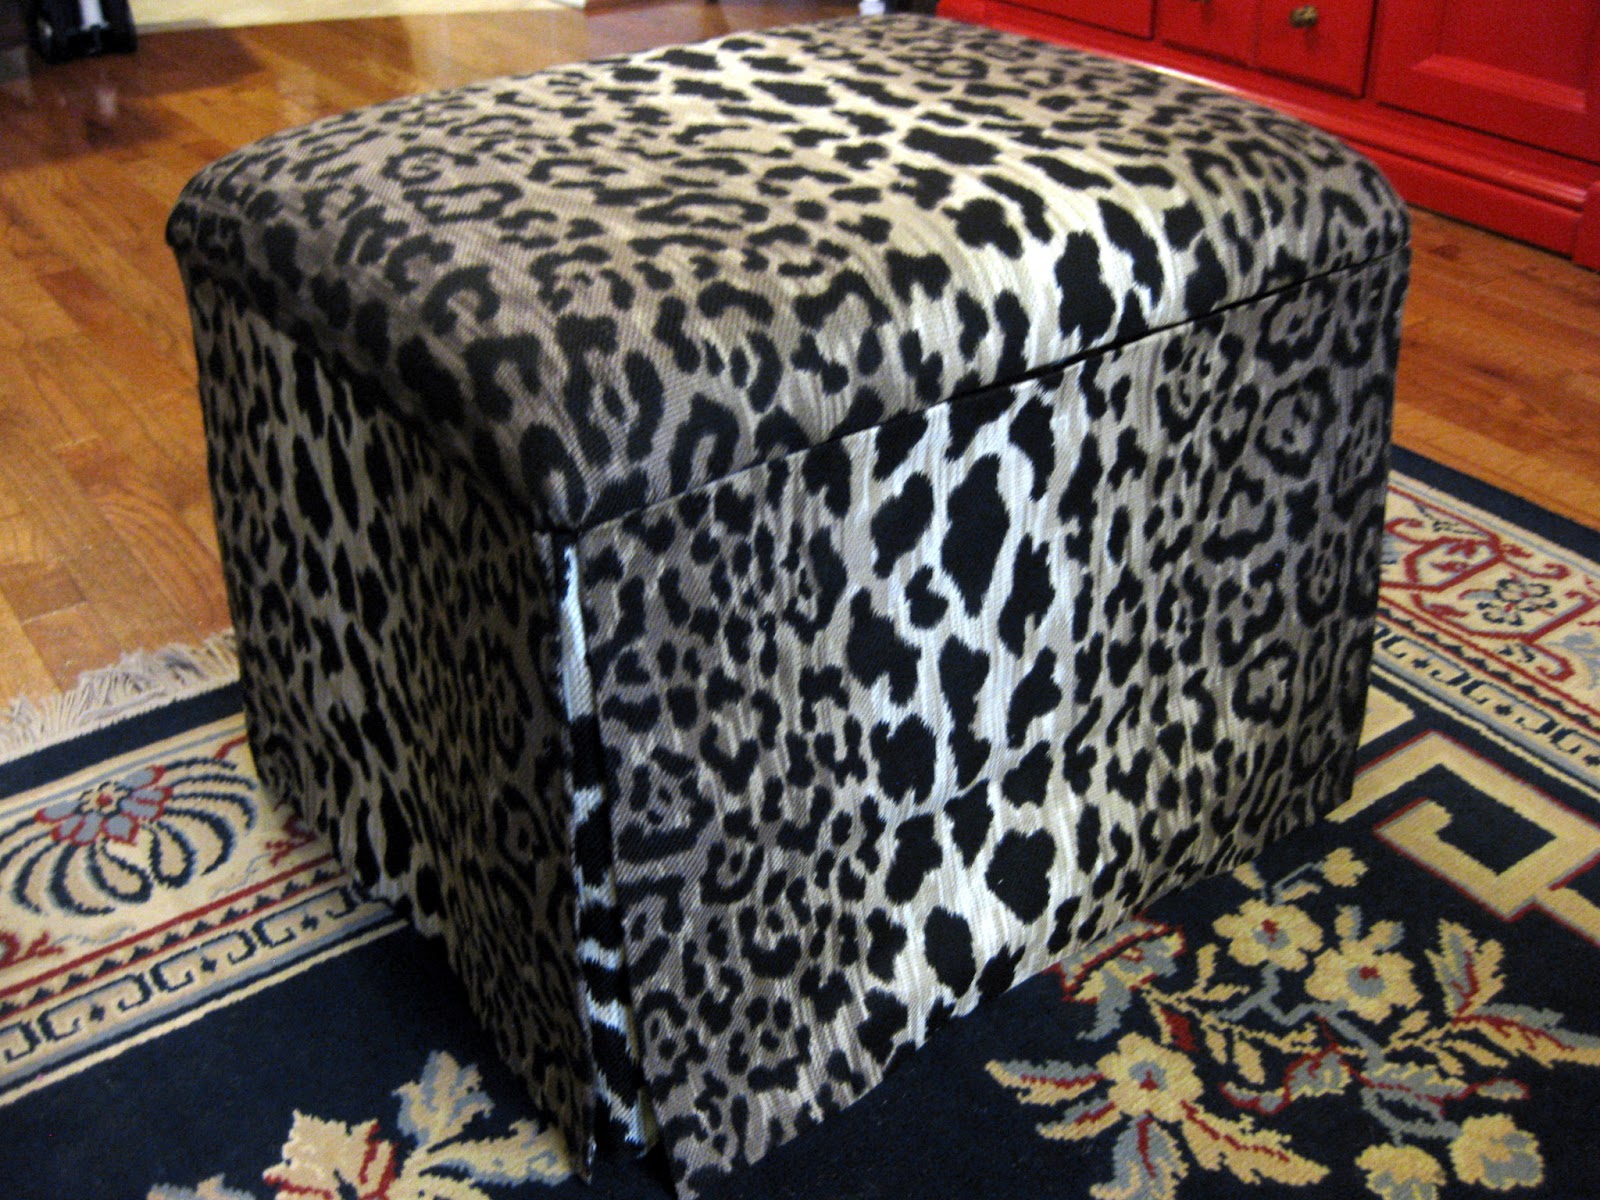
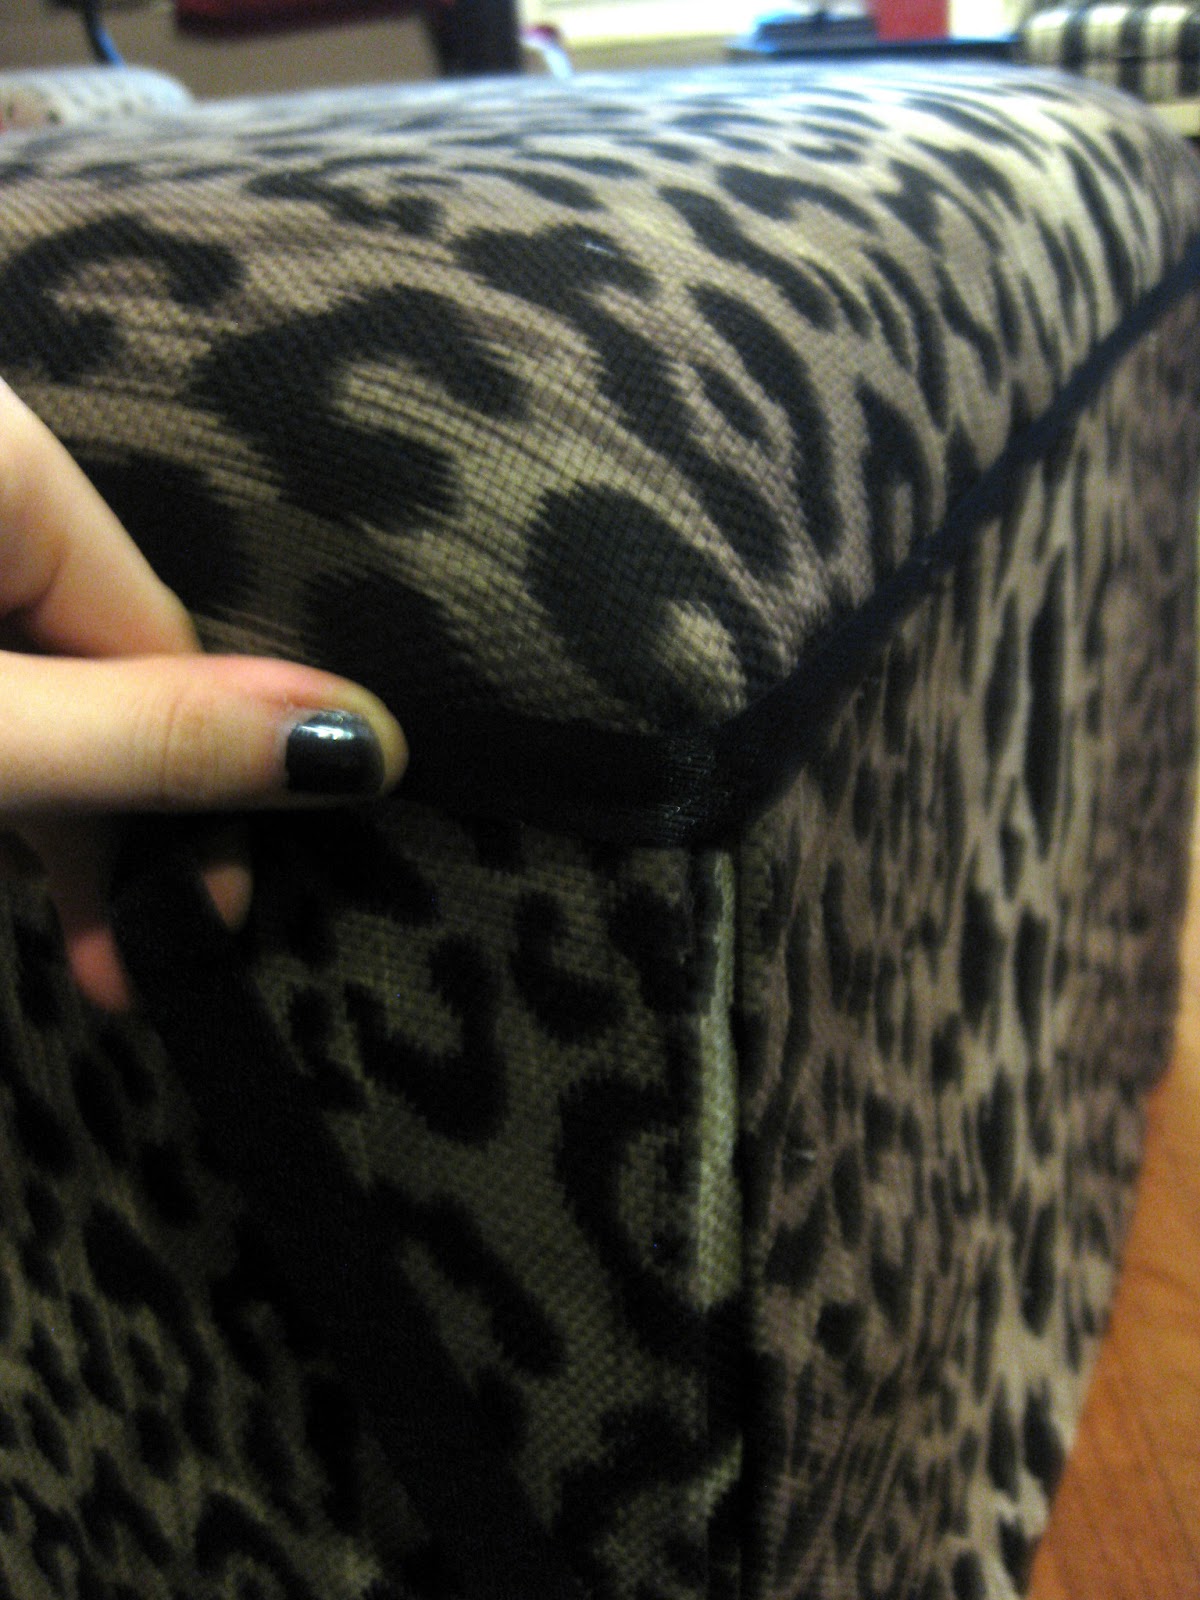
This:

Turns into this:

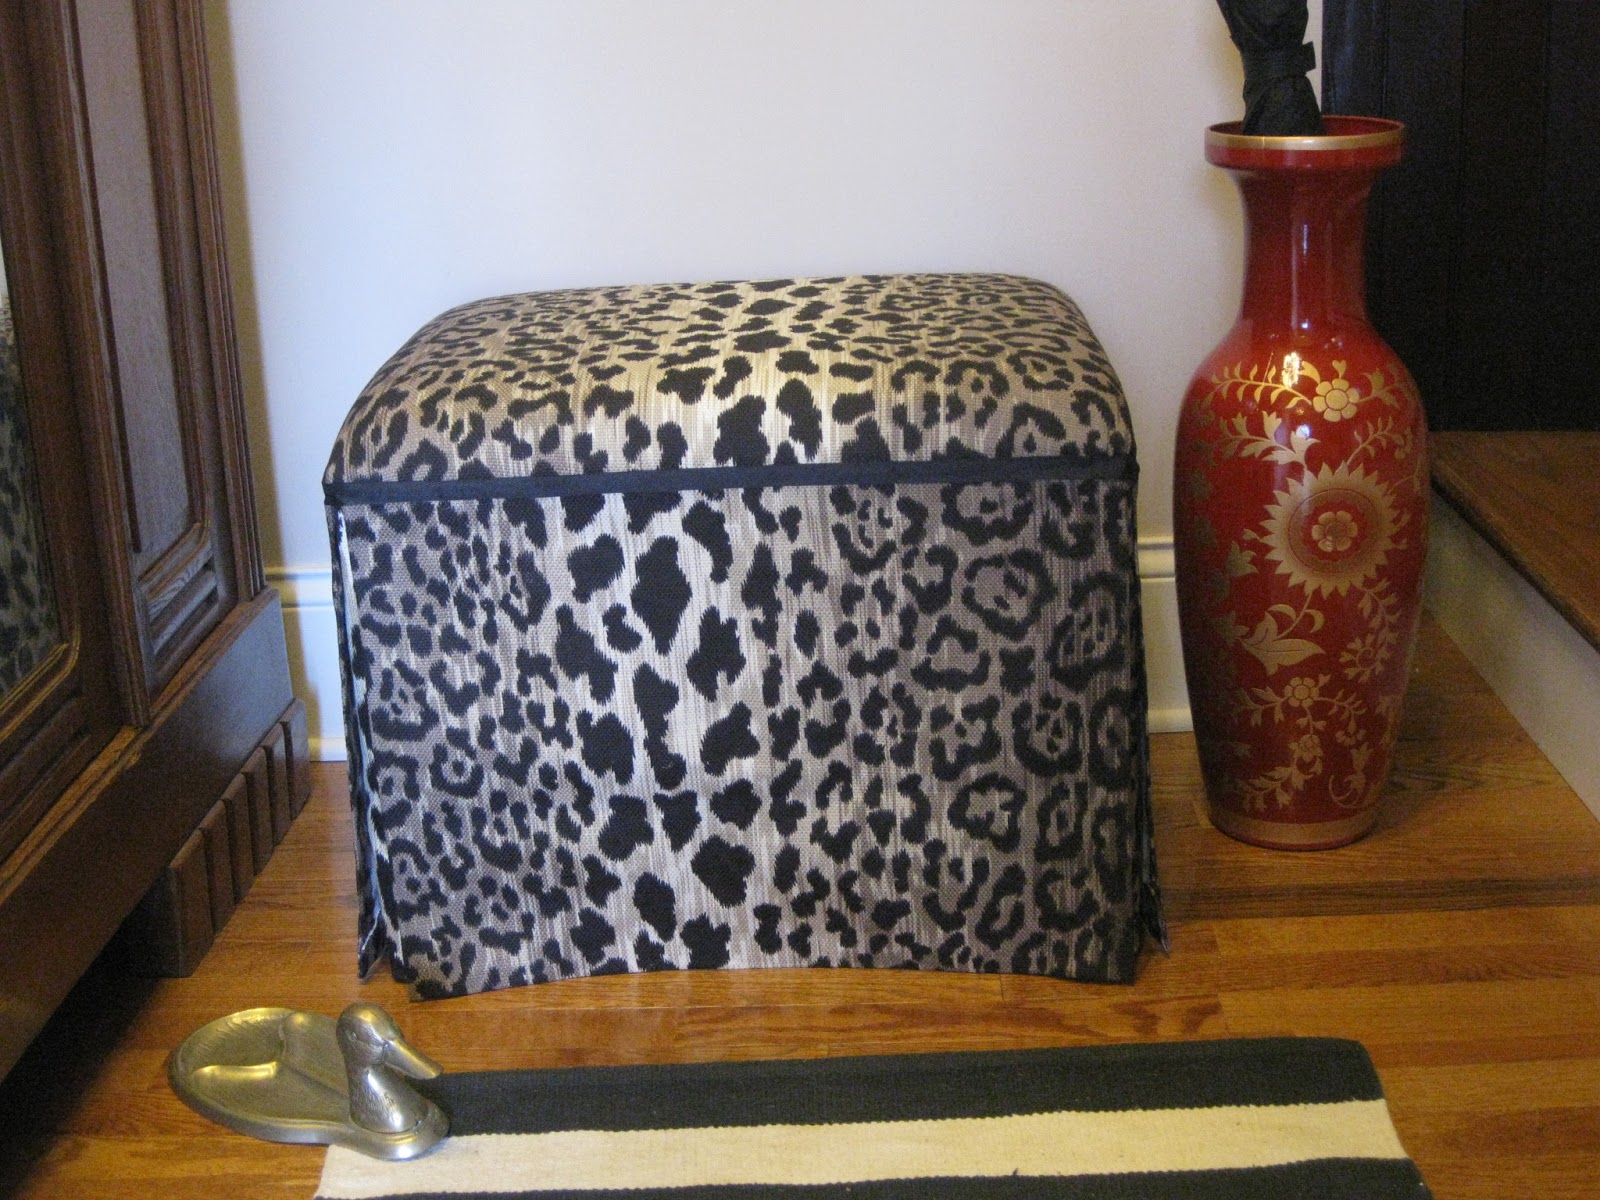
Or this:


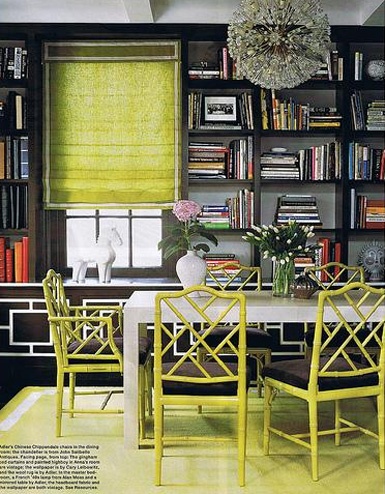
Next example, these bamboo dining chairs:

Could end up looking like this:

Or this:
Or this!

See what I mean? Sometimes, being able to see an item in a space and with the right styling can make allllllll the difference in the world. I'll probably do more postings like this, so let me know if you have ever found a vintage item that you are questioning!