inspired to incorporated: sleeveless trench

5.29.2013


My suuuuuuper stylish friend, Valerie, is always my fashion inspiration. I've already introduced you to her fabulous blog, and I told you that she. does. not. disappoint. Ever since seeing this post, I have been obsessed with her sleeveless trench and have been searching for one to incorporate into my own closet.

Eventually I had to take matters into my own hands because I could NOT find the perfect option. So, I found a trench that was on clearance at Old Navy (read: very inexpensive) and had it tailored to create the look I wanted. Cut the sleeves off, took a few inches off the bottom and voila:

      @mainstreetchic

I cannot wait to wear it like this....


all images via.

And the original inspiration herself:


Loooooving this look! Be sure to find Val on Instagram for even more fashion inspiration @valerie_aya. Have a great week, everyone :)

Miss Flo progress : front porch

5.28.2013


Hope you all had a wonderful Memorial Day weekend! I am happy to say we had a very productive one. Lots of projects finished, a few more started and we even squeezed in some pool time :)

I completed this project last week, and it would be safe to say I'm pretty proud of this before and after.


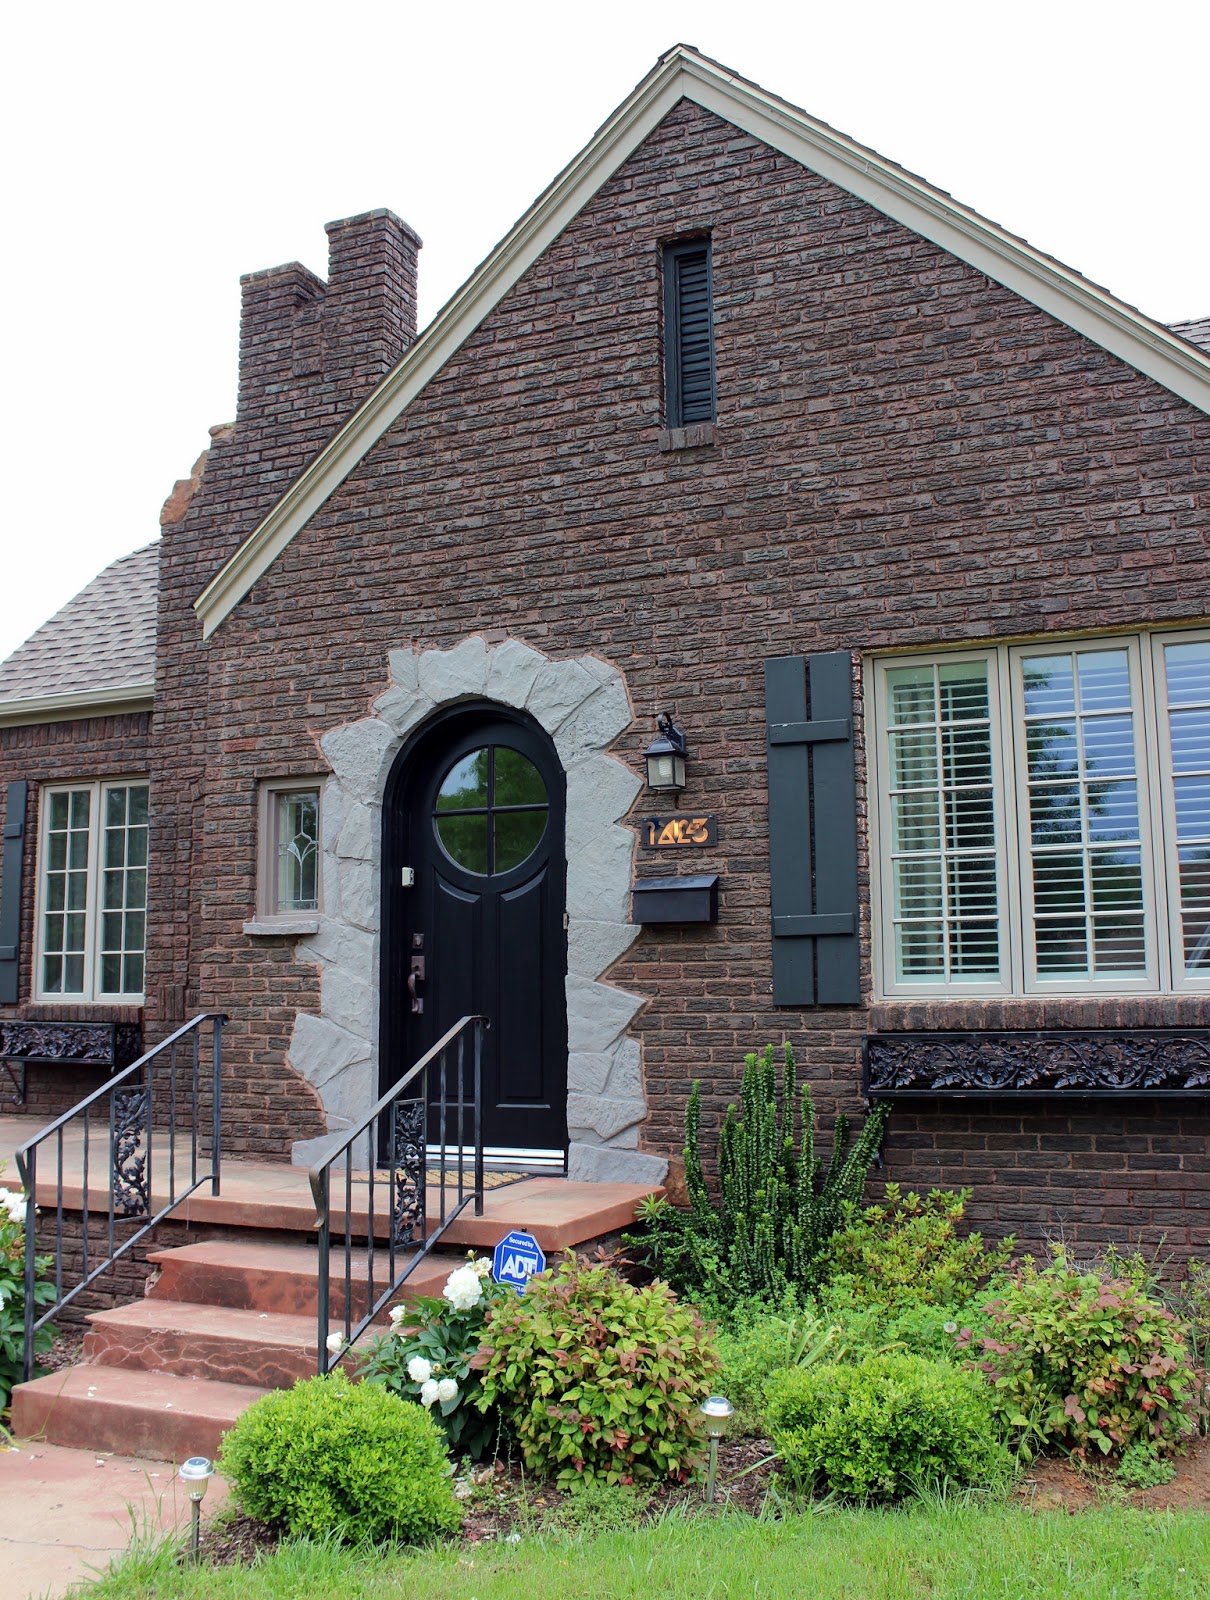
Honestly, when we first saw Miss Flo, I wasn't digging the orange rock surrounding the front door and it's been on 'the list' since we moved in. I just thought something more muted would look better... I don't know. I can't always articulate why I think something looks bad or why it would look better a different way. (which can cause issues when it comes to trying to convince the Hubs that certain projects are necessary). I just SEE IT. Anyway. I did a lot of research about how would be best tackle the rocks. I knew I didn't want to straight paint them because I still wanted them to look like rocks and not.... painted rocks.

SO I went to the paint store and explained what I was trying to do and the lovely paint professionals quickly came up with a plan for me. I picked a color and they mixed it at 150% in an outdoor, flat paint.


The reason they mixed it at 150% is because you mix it with water and diluting it makes the color less intense. So, to get the color that you want, you have to have more color in the paint. Essentially, you pour the paint into a bowl (that you don't care it about) and mix it with water. You should do about half paint and half water. Aim for a milk-like thickness. It's should be pretty thin and runny because you have to do lots of coats so you can get the exact color/coverage you want. The main reason you don't just straight paint the rocks is because you want to be able to see some of the color variation of the rock. Here is my first rock after about 2 coats.


Honestly, it would have taken much less time to complete the project if I had made the mixture more paint and less water. However, since this was my first time doing this, I figured doing a lot of coats would be easier than getting it way too thick.

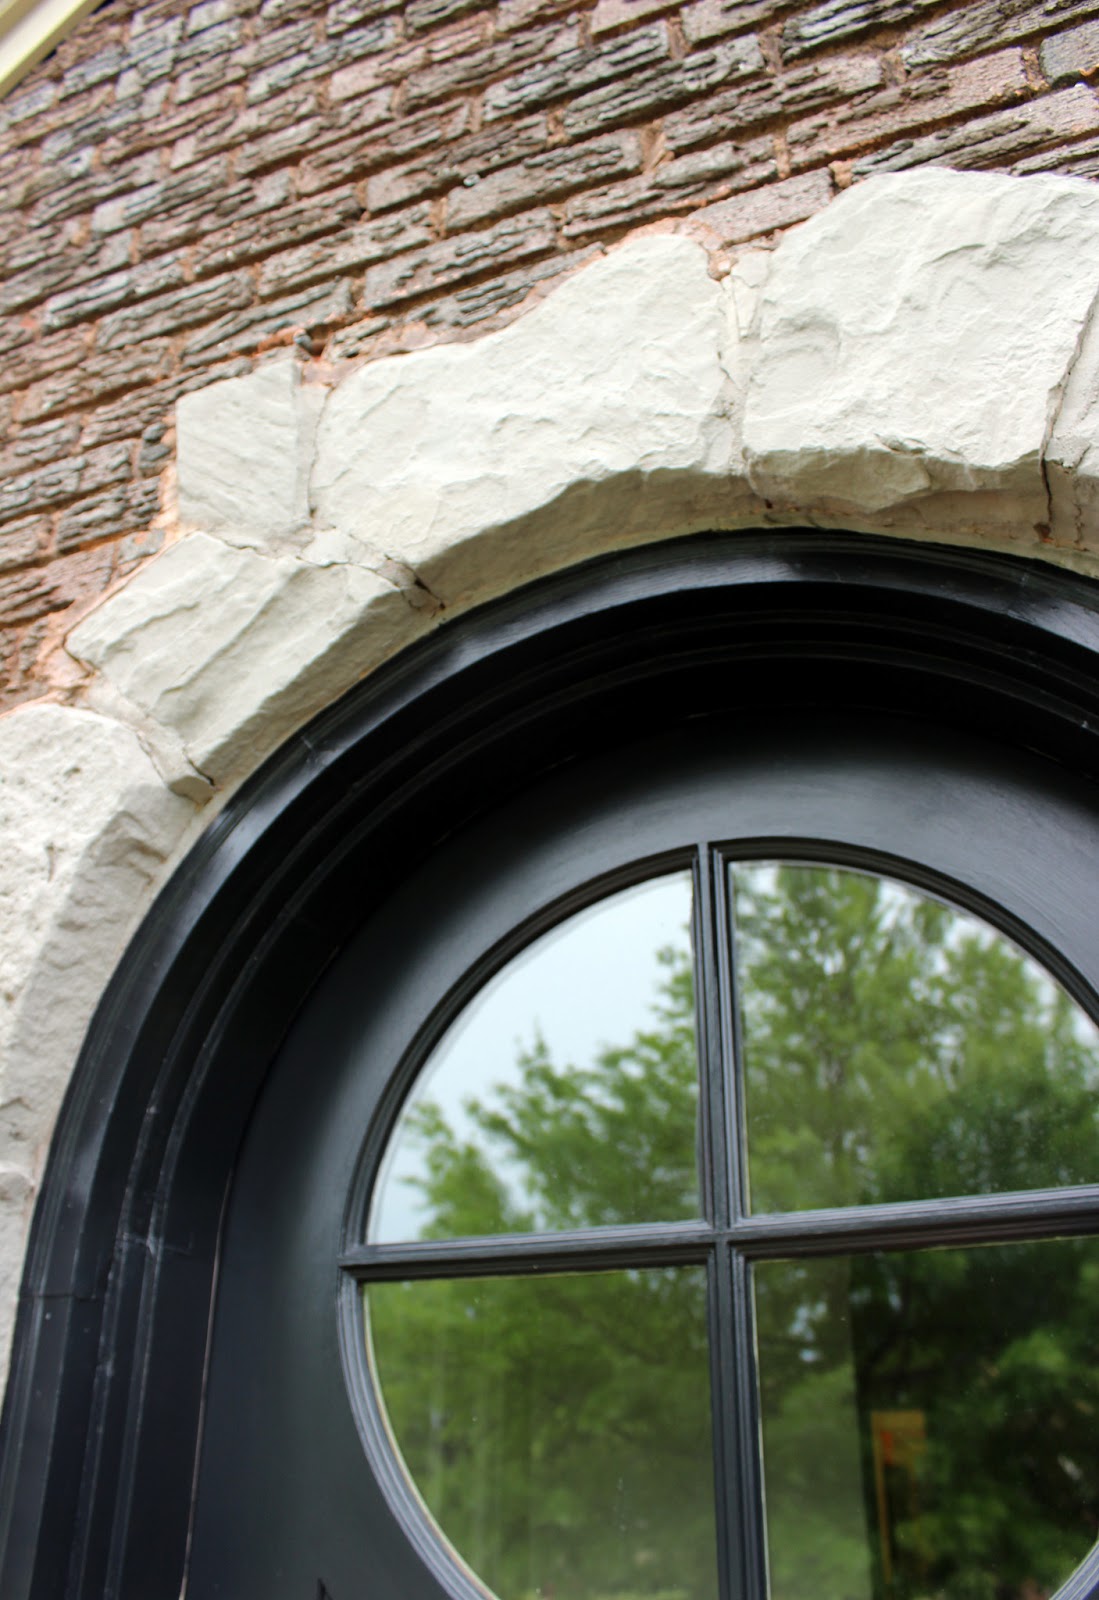
After I was done with the rocks, I knew I had to say goodbye to my red door. As much as I love a good red door, black is better in this case.


Yes, I blurred my house numbers. Safety first! Also protected by ADT in case you didn't catch the sign :) Close up of the 'after' rocks:


Super pleased with how this project came out. Honestly, the satisfaction I get from figuring out how to do something myself CANNOT be beat.

Let me know if you have questions or if you are planning to do something similar!

Miss Flo progress : Guest Bedroom

5.23.2013


More Miss Flo updates! BUT. I want to reiterate everything I said in this post. No, this room isn't done. But I am ready to share the progress. Because I am a share-r.

This is our downstairs guest bedroom. Originally, I wanted to use this bed in the upstairs guest bedroom, but the box spring wouldn't fit up the stairs. So here we are.


The light in this room is fabulous. And it has the most adorable nook that overlooks the front yard.


I searched HIGH AND LOW for vintage nightstands for this room. However, this bed is not vintage. And it is quite tall. Sooooo finding nightstands that were tall enough were an issue. Eventually, I just got these side tables that will function as nightstands. Tomorrow, they are being painted a really rich gorgeous emerald green.


Really loving how this room is coming together! Next up: vintage brass table for between the chairs, accessories, mirror for the nook, maybe a rug.... the list goes on :)

Sources: curtain fabric, wall color, bedding-1, 2, 3, nightstands, lamps- can't find them! but similar here, chairs.

For more regular updates follow me on Instagram @mainstreetchic. Hope you all are having a great week! Enjoy the long weekend!

open for business

5.13.2013


Well, I've definitely been busy decorating my own house.... but I want to decorate yours too! So let's consider Emily Davis Interiors officially open for business :) If you are in the market for a fun, creative and customized space that is PERFECT for you, I would love to help you out!

I've updated my pages (on the left) outlining my services and how to contact me. Can't wait to hear from you!

Miss Flo progress : Formal Living Room

5.09.2013


As I've said in the past couple of posts, feeling like I'm ready to share the progress at our new house has been tough. Before putting any space out there, most decorators want things to be picture perfect and 100% finished. And I definitely don't blame them for that. But I know how much I enjoy seeing spaces evolve, so with that in mind, I'm sharing where we are currently at with our formal living room.

So, we've been in the house for about 3 weeks and have been making lots of progress! You can see my original design plan for the space and the 'before' pics here. Overall, I've stayed pretty true to what I had planned.


The art above the fireplace changed from doggie silhouettes to the lyrics of 'our song'. It was a request from the Hubs, and I am really glad he had an opinion on what went up there because I LOVE this. Funny story about the half-filled fireplace.... still working on that :)


The coffee table was a lucky find at a St. Louis vintage shop.


The art--- essentially, I wrote out the lyrics on a regular piece of paper, took it to Kinko's and had it printed out as an 'architect print' and cut it to the dimensions I needed. Seriously turned out so cool.We (it was a team effort for sure!) used this method to hang it.


Overall, I am really pleased with how things are progressing. It's definitely a mix of formal and casual. Ex: tufted banquettes on a cowhide-- a great juxtaposition. Still on the 'to-do' list: better wood to fill the fireplace, pillows for the banquettes, a great plant by the windows, accessories and eventually will switch out the curtains.

If you want any sourcing info, please let me know. Would be more than happy to share. Let me hear your thoughts- love getting feedback!

snapshots of our progress pt. 2

5.02.2013


I know just sharing Insta photos is a total cop-out of a blog post. BUT I just keep telling myself that I don't want to take real pictures yet until things are a little bit more 'done.' However, I know things will never be done.... so..... rock and a hard place.

Nevertheless. Here is some more progress:

I don't know if I ever mentioned that I found some AMAZING bamboo chairs on CraigsList. The ones from this post to be exact. They are going to be our new dining chairs and this is the direction we are heading. I loooove this fabric and am so glad the Hubs agreed to it. Now I just need to give them a fresh coat of white because the paint on them now is super worn out. Easier said than done, right?


Dais absolutely loves all the windows in her new house. It makes my heart happy :)


We finally got our new bed and bedding and are so happy with both. Next up, the upholstered headboard project I talked about here. Also, you might notice that I went with red lamps instead of the white ones I was planning on. Sooooo happy with that choice. They are perfection.


I found an amaze vintage rug on eBay and it is a perfect addition in our kitchen.


There has def. been other progress made (switching fixtures, painting, hanging art, etc) but this is all that has been captured so far.

Thanks for following along!
 
Blog Design by Sweet Simplicity